User Maintenance is performed within the Cloud's Users Administration screen. To navigate to the Users Administration screen, click Spotlight from the Top Navigation Bar. Upon clicking Spotlight, the Temenos hosted products menu appears. Click the Cloud tile.
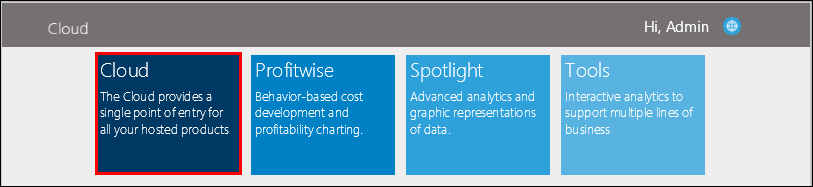
Once the Cloud tile is selected, the icon within the Top Navigation Bar changes to the Cloud. Click the Focus icon  located in the top right of the Top Navigation Bar.
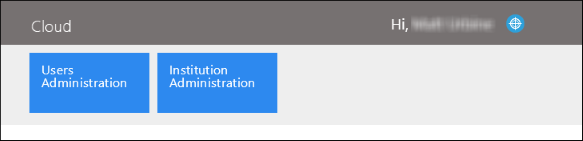
Upon clicking the Focus icon, a menu opens from the top of the Cloud Landing Page. Within the menu, users are able to select Users Administration to add and maintain Cloud user records.
The Users Administration screen opens within the workspace.
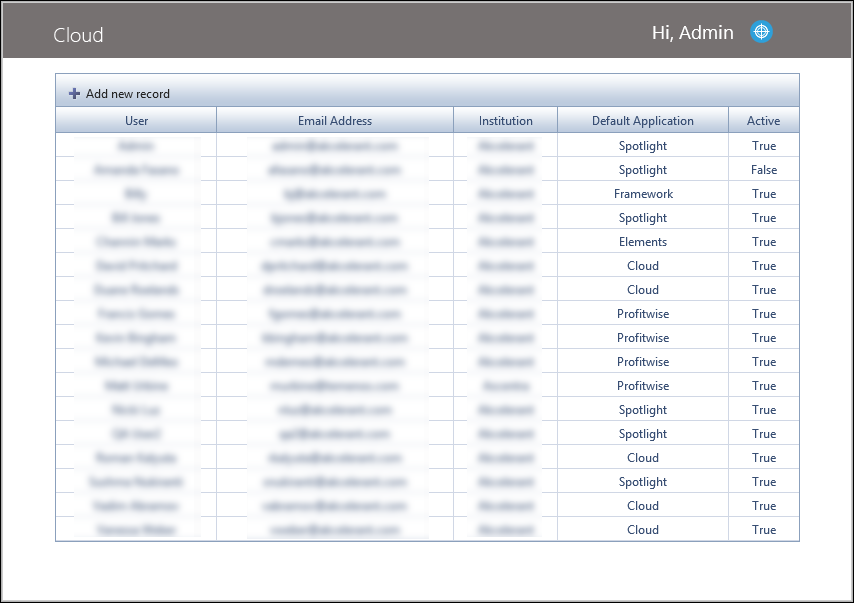
The Users Administration screen displays all cloud user accounts in a table containing the following fields:
| Field | Description |
| User | This field indicates the name of the cloud user. |
| Email Address | This field indicates the cloud user's email address. |
| Institution | This field indicates the name of the financial institution the cloud user is associated with. |
| Default Application | This field indicates the cloud user's default cloud application. |
| Active | This field indicates if the cloud user's account is active. If the user is active, this field displays True. If the cloud user is inactive, this field displays as False. |
In addition to displaying current user accounts, administrators are able to add new users.
User Account Data
Each user account consists of basic user information and permission, which is collected in User Account Data screen. This screen consists of two sections:
- User Credentials
- User Permissions
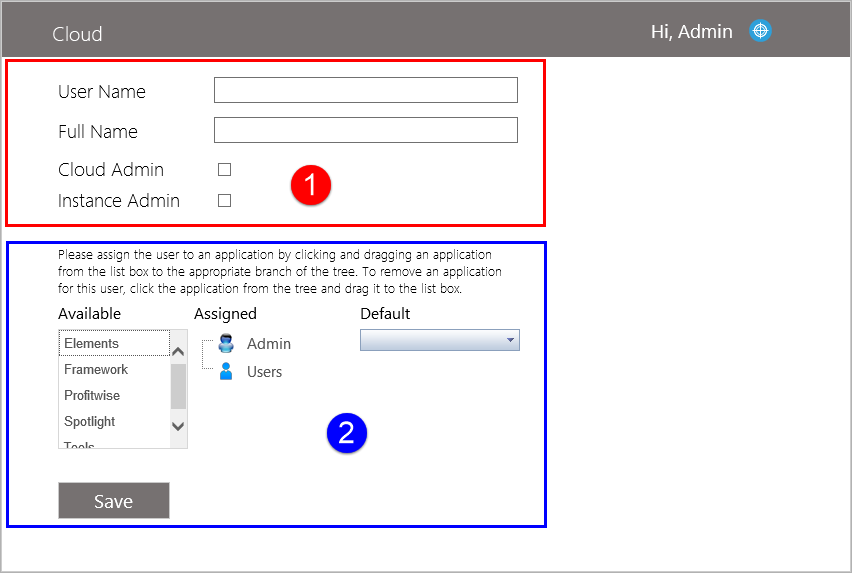
1 - User Credentials
The User Credentials section contains fields that allows administrators to identify user's basic information. Within this section, the following fields display:
| Field Name | Description | ||
| User Name |
Displays the email address of the user.
| ||
| Full Name | Displays the full name (first and last name) of the user. | ||
| Cloud Admin |
The Cloud Admin checkbox is used to grant Cloud administrative rights to the new user. Cloud administrative rights enable a user to add, edit and delete user accounts as well as update user permissions. | ||
| Instance Admin | The Instance Admin checkbox is used to grant the user administrative rights the assigned cload applications. |

 |
The user name and full name fields are required. |
2 - User Permissions
The User Permissions section contains three areas that allows administrators to determine which applications a user is able to access and identify their permission level.
| Section Name | Description | ||
| Available |
Contains a list of the following applications:
| ||
| Assigned |
Contains a list of all cloud applications assigned to a user account. The assigned section is broken down into Admin and Users.
| ||
| Default | Indicates the cloud application that displays by default, when the user logs into the Cloud. |
Creating a New User
To create a new user, click the Add New Record button located at the Users Administration screen. Once Add New is selected, the User Account Data screen opens.
- Enter all applicable fields in the User Credentials section.
- Assign the desired application(s) to a user account by dragging and dropping the application from the Available section to the Assigned section.
- Place the application in the Assigned>Admin section to grant administrative rights.
- Place the application in the Assigned>Users section to grant user only rights.
- Using the drop-down list, select the cloud application that displays by default, when the user logs into the Cloud.
Editing an Existing User
By editing an existing user's account, administrators are able to perform actions such as: name changes, user deactivations, password resets, and permission modifications. To edit an existing user:
- Locate the desired user from the user list and double-click on his or her name.
- Upon selecting the desired user, the credentials and permissions sections populate with the user's information.
- Update all applicable user information and permissions.
- Select the Click here to reset this user's password link to send a system generated email to the user. The email contains a link to reset their password.
- Once all edits have been made, click Save.
Deactivating Users
To deactivate an existing user:
- Locate the desired user from the user list and double-click on his or her name.
- Upon selecting the desired user, the credentials and permissions sections populate with the user's information.
- Click the Deactivate button to suspend the user's account.
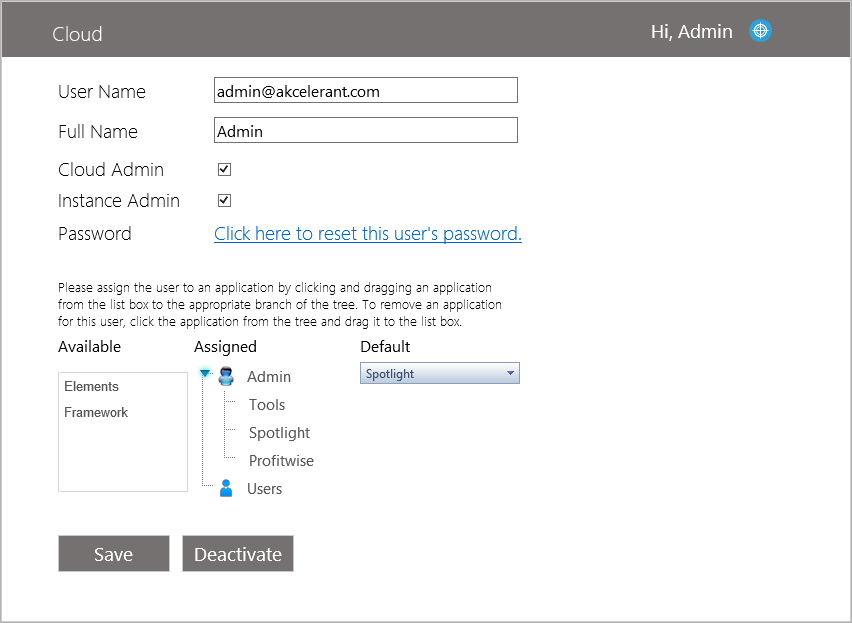
- Once a user has been deactivated, click Save.
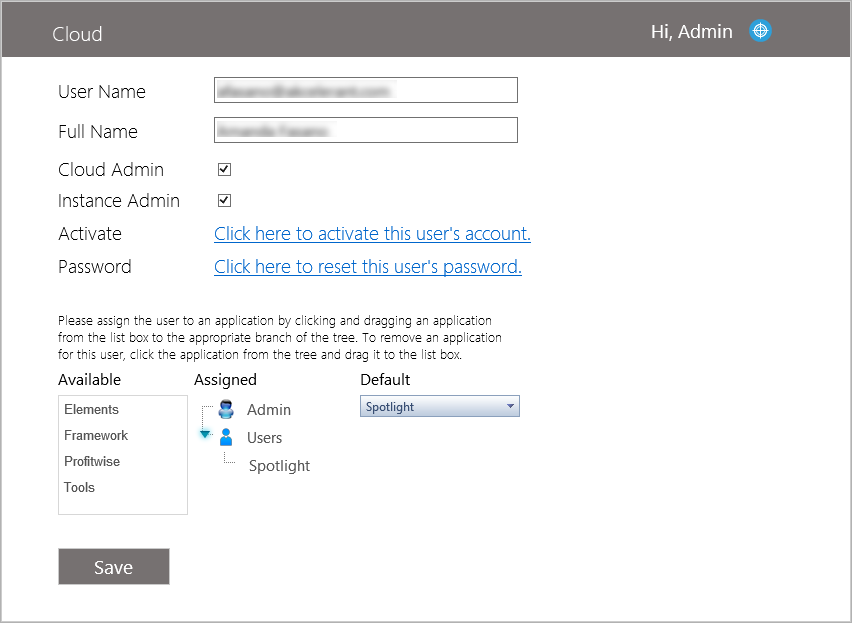
Reactivating Users
To reactivate a user:
- Locate the desired user from the user list and double-click on his or her name.
- Upon selecting the desired user, the credentials and permissions sections populate with the user's information.
- Select the Click here to activate this user's account link to reactivate the user.
- Once a user has been reactivated, click Save.